10 Jul Porsche 356 Wheel Restoration, Part II
With the wheels sandblasted and primered, it was time to repair 5 broken hubcap retainer clips (in total) on the the 5 wheels. The process was as follows:
1. Drilling out the the rivets on the broken retainer clips

2. After removing the broken clip
Note that, as there is rust under the broken clip, it’s important to treat this or it will come back to haunt you later.

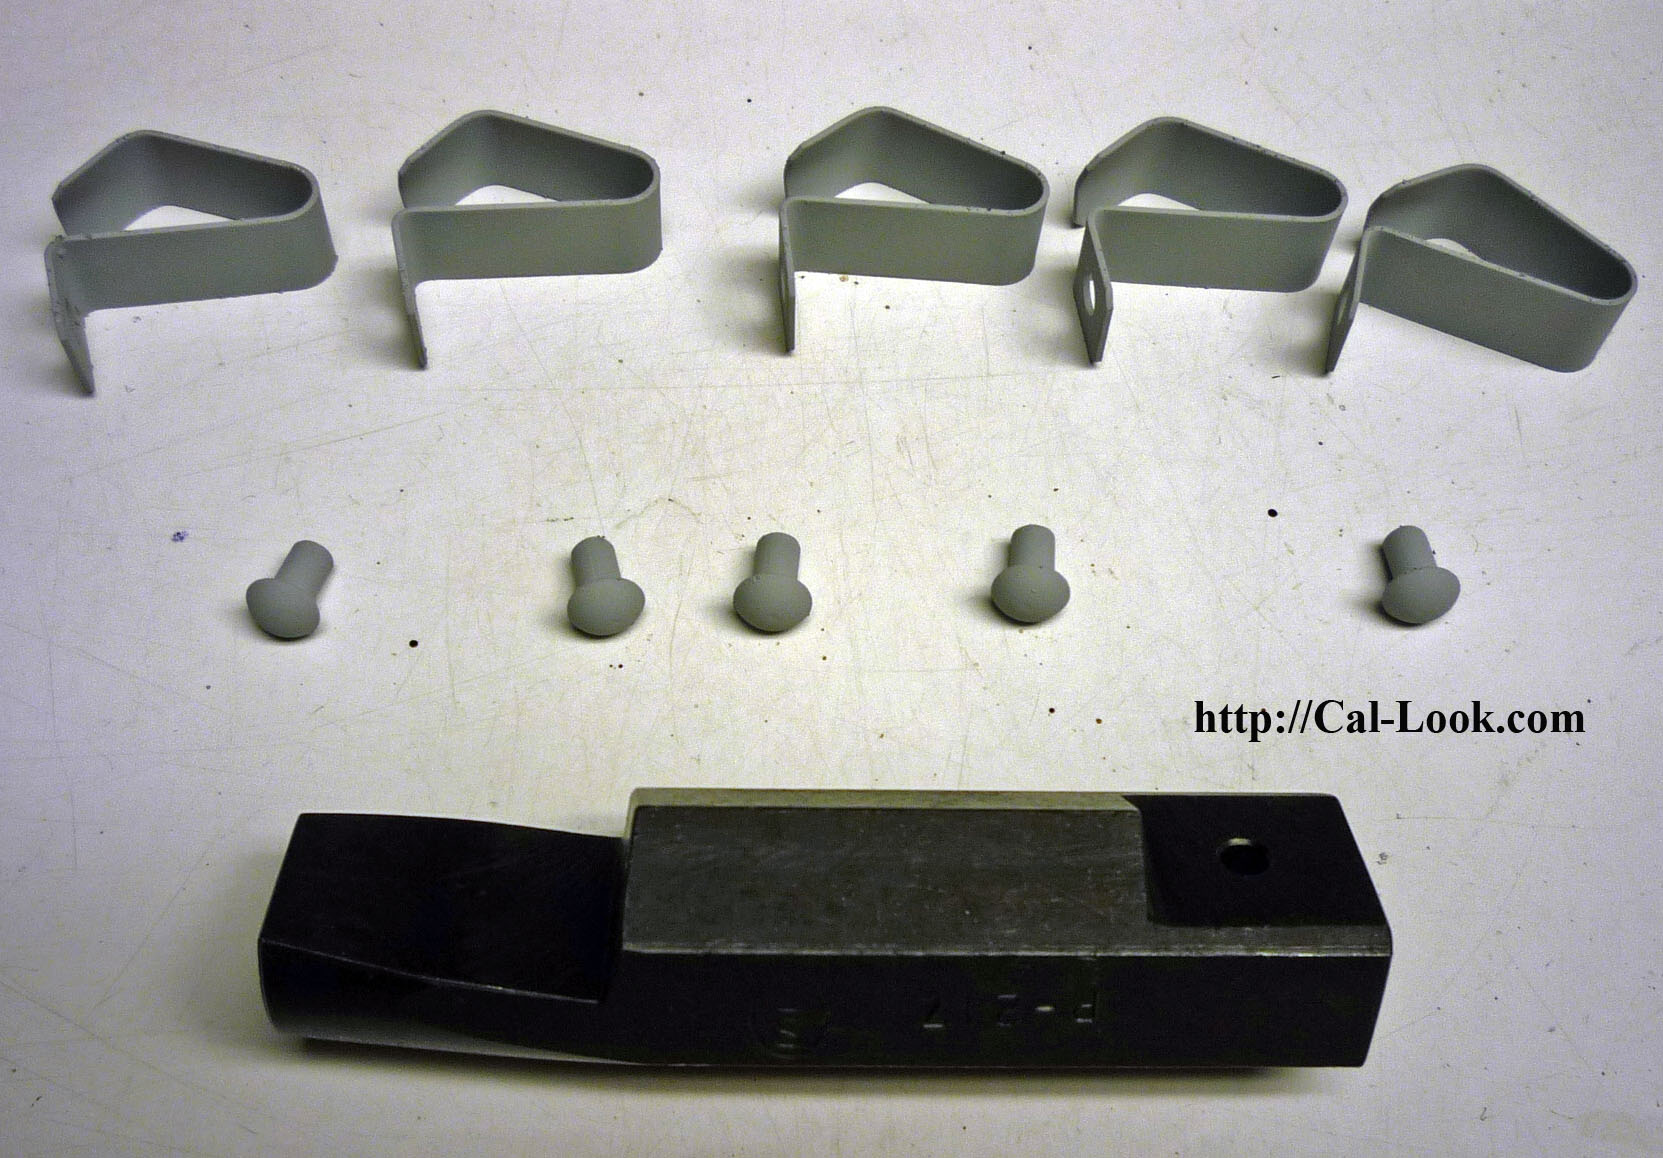
3. The hubcap retainer clip kit, including the replacement clips, rivets and rivet holder
Note that I primed the rivets and clips before installing them. The kit comes with black clips and aluminum retainers, but that’s not how the factory did it, as they were primed and painted with the wheels. Black clips would not be correct.
4. Clip and rivet in holder, held in a vice

5. Fitament Issues
As sometimes occurs with aftermarket parts, despite purchasing the “correct” rivet holder for my wheels, the fit was poor, interfering with the inner rim lip. A few passes with the grinder solved that problem.


6. The wheel is then balanced on the vice (with blocks of wood), face down, with the rivet and clip through the hole

7. The back of the rivet is then peened over with a punch, starting with a larger-faced punch, and then followed with a smaller-faced punch to get it flush
Note the use of plastic gloves. As the wheels are still in primer, you don’t want to get any oil (from your hands) onto the primer, which may come back and “haunt” the colour coat.

8. Cleaner up the clag
A couple of the rivets still had a bit of metal on the back side of the rim, which would interfere with the wheels sitting flush and level on the drum. A couple of minutes with the grinder addressed that problem.


That’s it for now. In Part III, it’s time for the colour coat and installation on my ’67 to see what the final package looks like. Can’t wait!
