07 Dec Vintage Car Storage and Removing Moisture
This time of year causes the hearts of many vintage car buffs to sink, as it means storing their baby for the winter. I’m fortunate that, where I live, I’m able to drive year round, as the winters are relatively mild and not too much salt is used. My strategy is to simply wait for dry days in the winter, especially after a rain fall has rinsed the salt and sand residue. 9 years of doing of this and no issues. The other benefit is that the cars don’t experience the “storage blues”, which often come up after storage and manifests in electrical problems or new/increased oil leaks.
Regardless of weather you use your car during the winter, it’s important to remove moisture from the air, as it can wreak havoc on old cars.
My small, single car garage does not have moisture issues. I attribute this to sealing the concrete floor, followed by laying a floor, insulating the roof, having a new garage door, double glazed windows, and most importantly, heat.
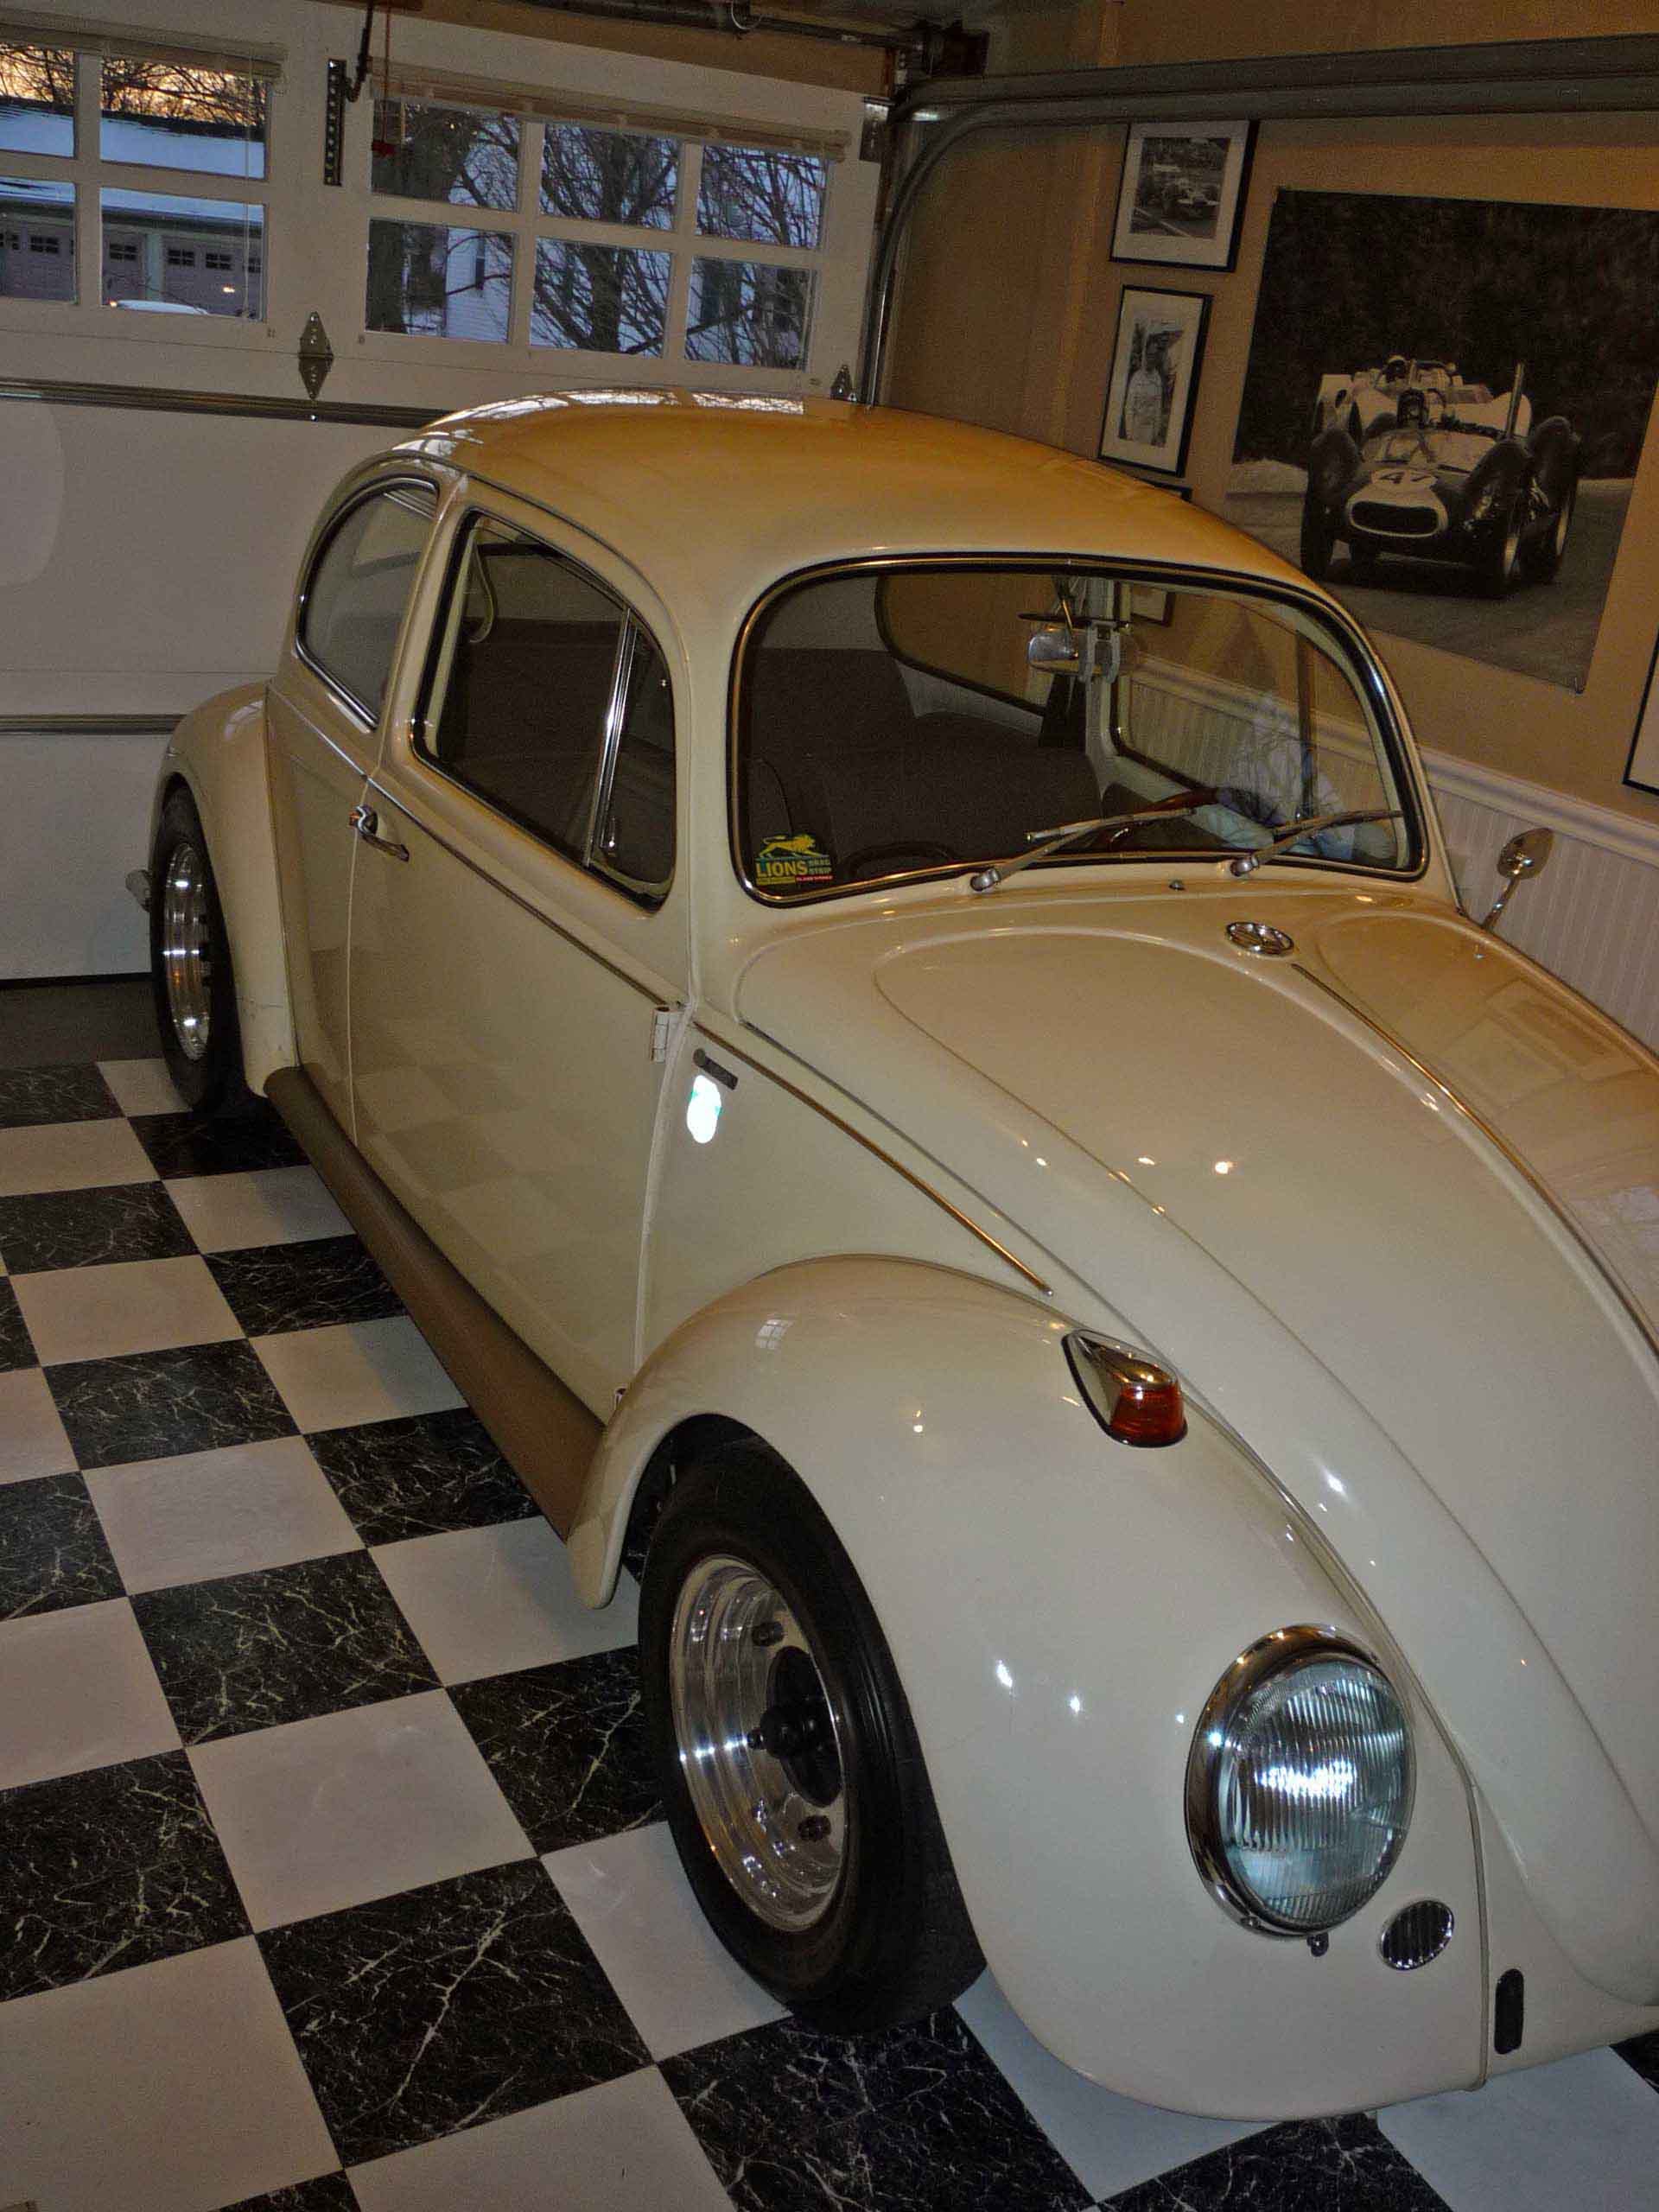
I also keep one car in a separate garage, along with my boat, which poses problems. The raw concrete floor can “sweat” during humid periods. I don’t own the second garage, and I’m unable to put heat in it or run a dehumidifier. This is made worse because of the needs of what I store in there; my 1949 Penn Yan Trailboat NEEDS moisture in the air or the wood dries out and shrinks. My ’71 Porsche 911 or ’67 VW Beetle, however, need dry air.
So what I did was to buy a car bag called “Car Jacket”. Since the Beetle and Porsche are dimensionally similar, the bag fits both cars. I try to rotate the two cars every week or two, driving one of them, so the car going into the unfinished garage is driven into the car bag. It is then covered, and desiccant is placed inside the bag to absorb moisture. This last step is CRITICAL, or your will have moisture in the bag.

Some words of advice based on my experience:
1. Always have the engine cool when driving it in.
2. Ensure that you do so on a dry day.
3. Place a cotton cover over the car before you place the bag over the car. This will ensure that you don’t scratch the paint.
4. Since these cars love to leak, place something to catch the drip(s) which may otherwise damage the plastic.
5. The desiccant will need to be refreshed from time to time, which typically involves re-heating it in the oven to remove moisture or replacing it.
I’ve being doing this now for two years, and it has worked well. My only observation is that, with old cars that typically have no emissions systems, where the gas tank is vented directly to the atmosphere, you can smell the fumes when you unzip the bag after several weeks. Nothing alarming, but noticeable. It is obviously critical that you have NO fuel leaks. There are more expensive car bags available which contain a fan to vent to the outside.
Anyway, I thought that I’d mention this as a possible solution to those who don’t have access to heated storage.

I’ve also recently tried a product called Damp Rid, which is a bag filled with a desiccant that contains a pouch for the moisture to drain into. My wife recommended this after using one in our basement, which filled with water after a few months. It has been in my garage now for 1 month and not one drop has ended in the pouch, which is a good sign. An additional thing to think about in battling moisture.
